In this edition of “Ask Mr. Moots” series, our question comes from Moots dealers and customers alike.
Dear Mr. Moots……I daydream about riding my Routt RSL when I’m doing something else. I drool over the welds and the attention to detail. However, I have a question about the seat tube on my bike:
Q: What is the weld seam towards the upper part of the seat tube?
Mr. Moots writes back:
Dear Routt RSL,
That’s a great question and as always, Mr. Moots has your answer.
A: We use a seat tube that measures 35mm O.D. (outside diameter). The seat tube is thin walled to save weight and needs to be reinforced in the junction of the top tube, seat tube and seat stay junction. There is a lot of stress happening in this area of the frame. The seat tube also needs to be brought down in the internal diameter to meet up with a 27.2 seat post (for our road and gravel bikes) or 30.9 (on our mountain bikes).
You can view the series of photos below that show you exactly how we do this. From our CNC department into a fully finished frame.
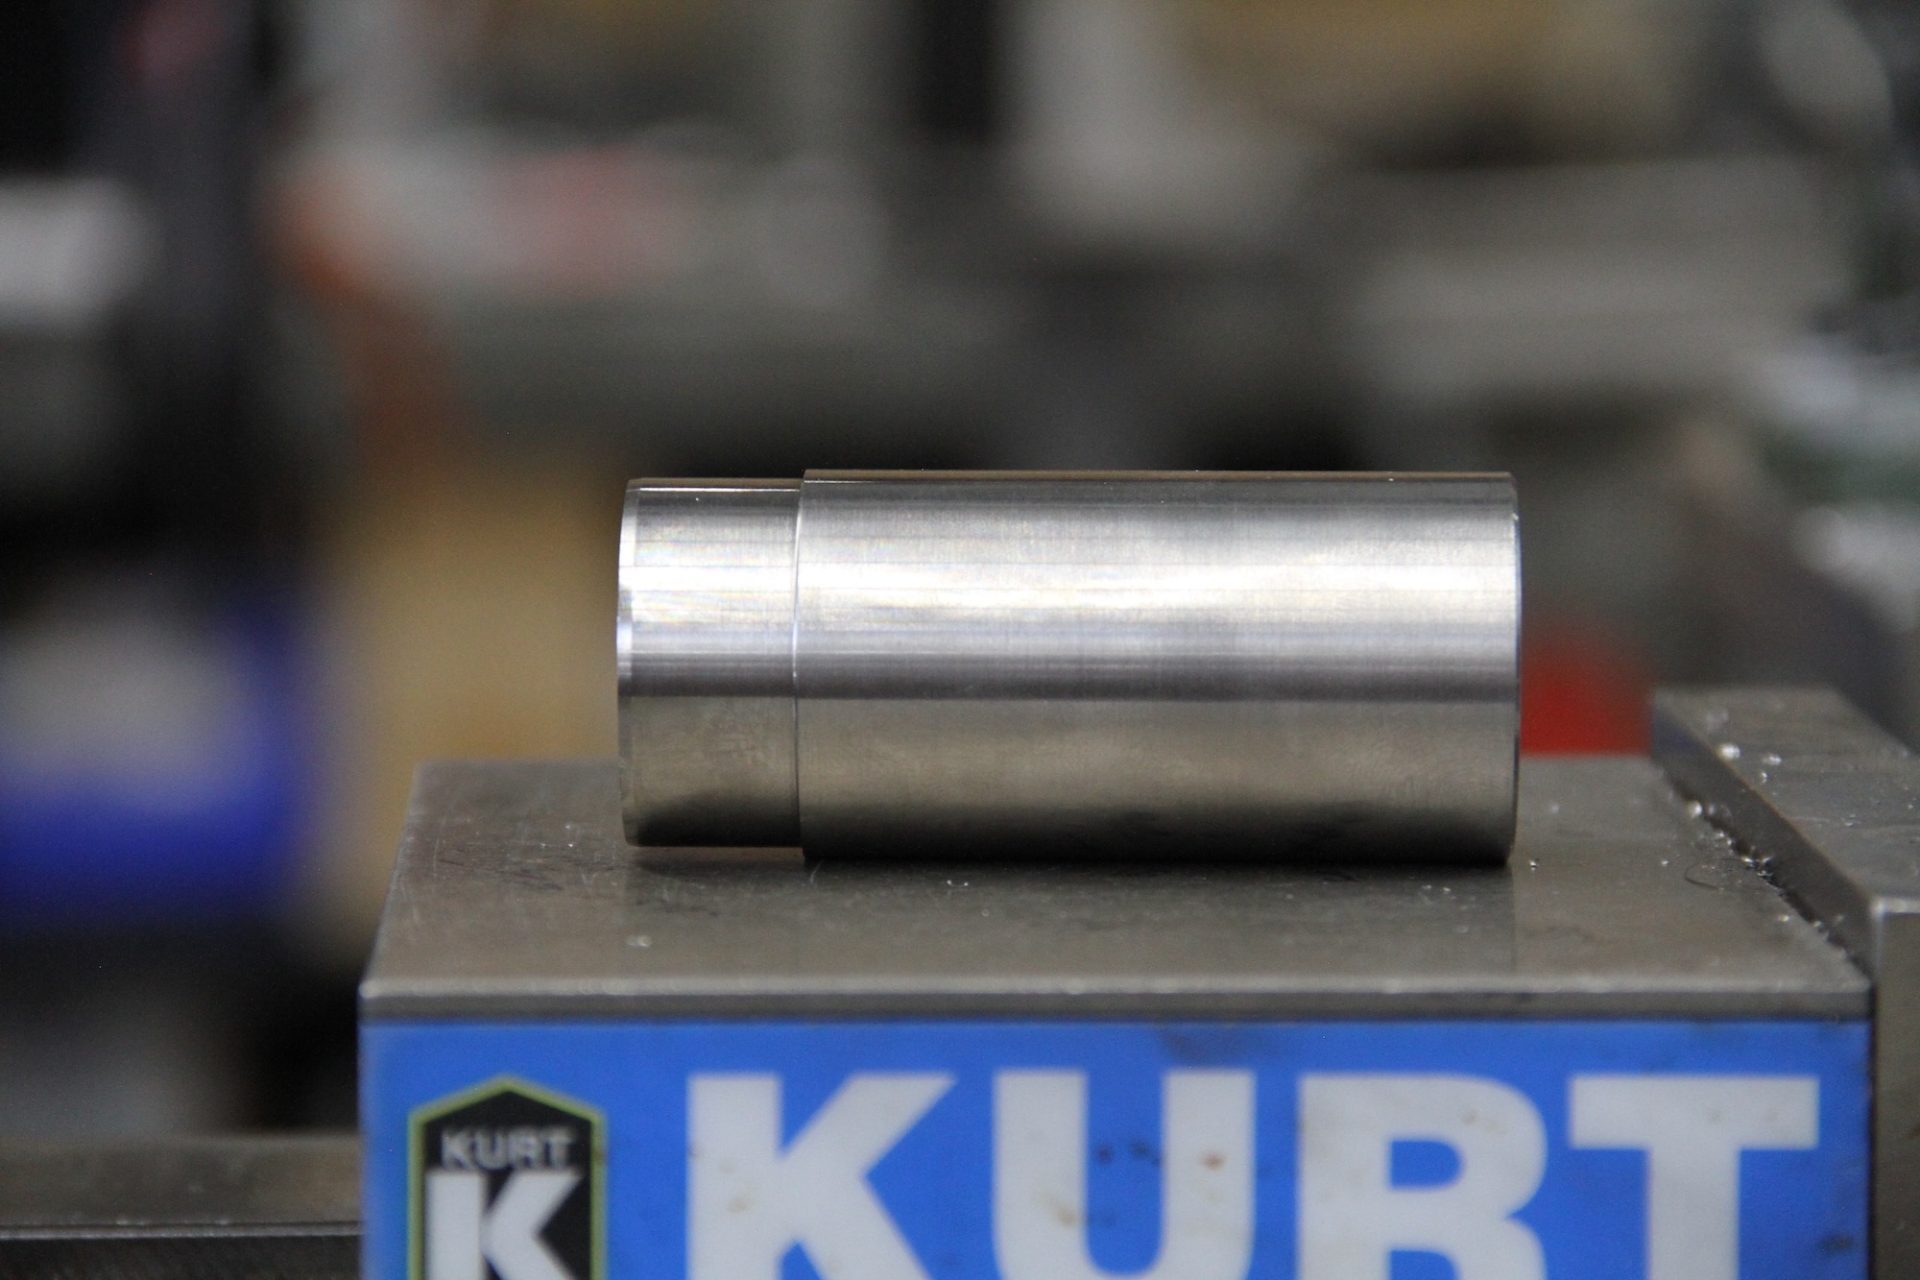
We first machine a seat tube insert. This is done in our CNC department on the horizontal lathe. Starting with a thick walled tube we remove material to step it down to fit inside the thin walled seat tube.
The seat tube insert has a step-down machined into it.
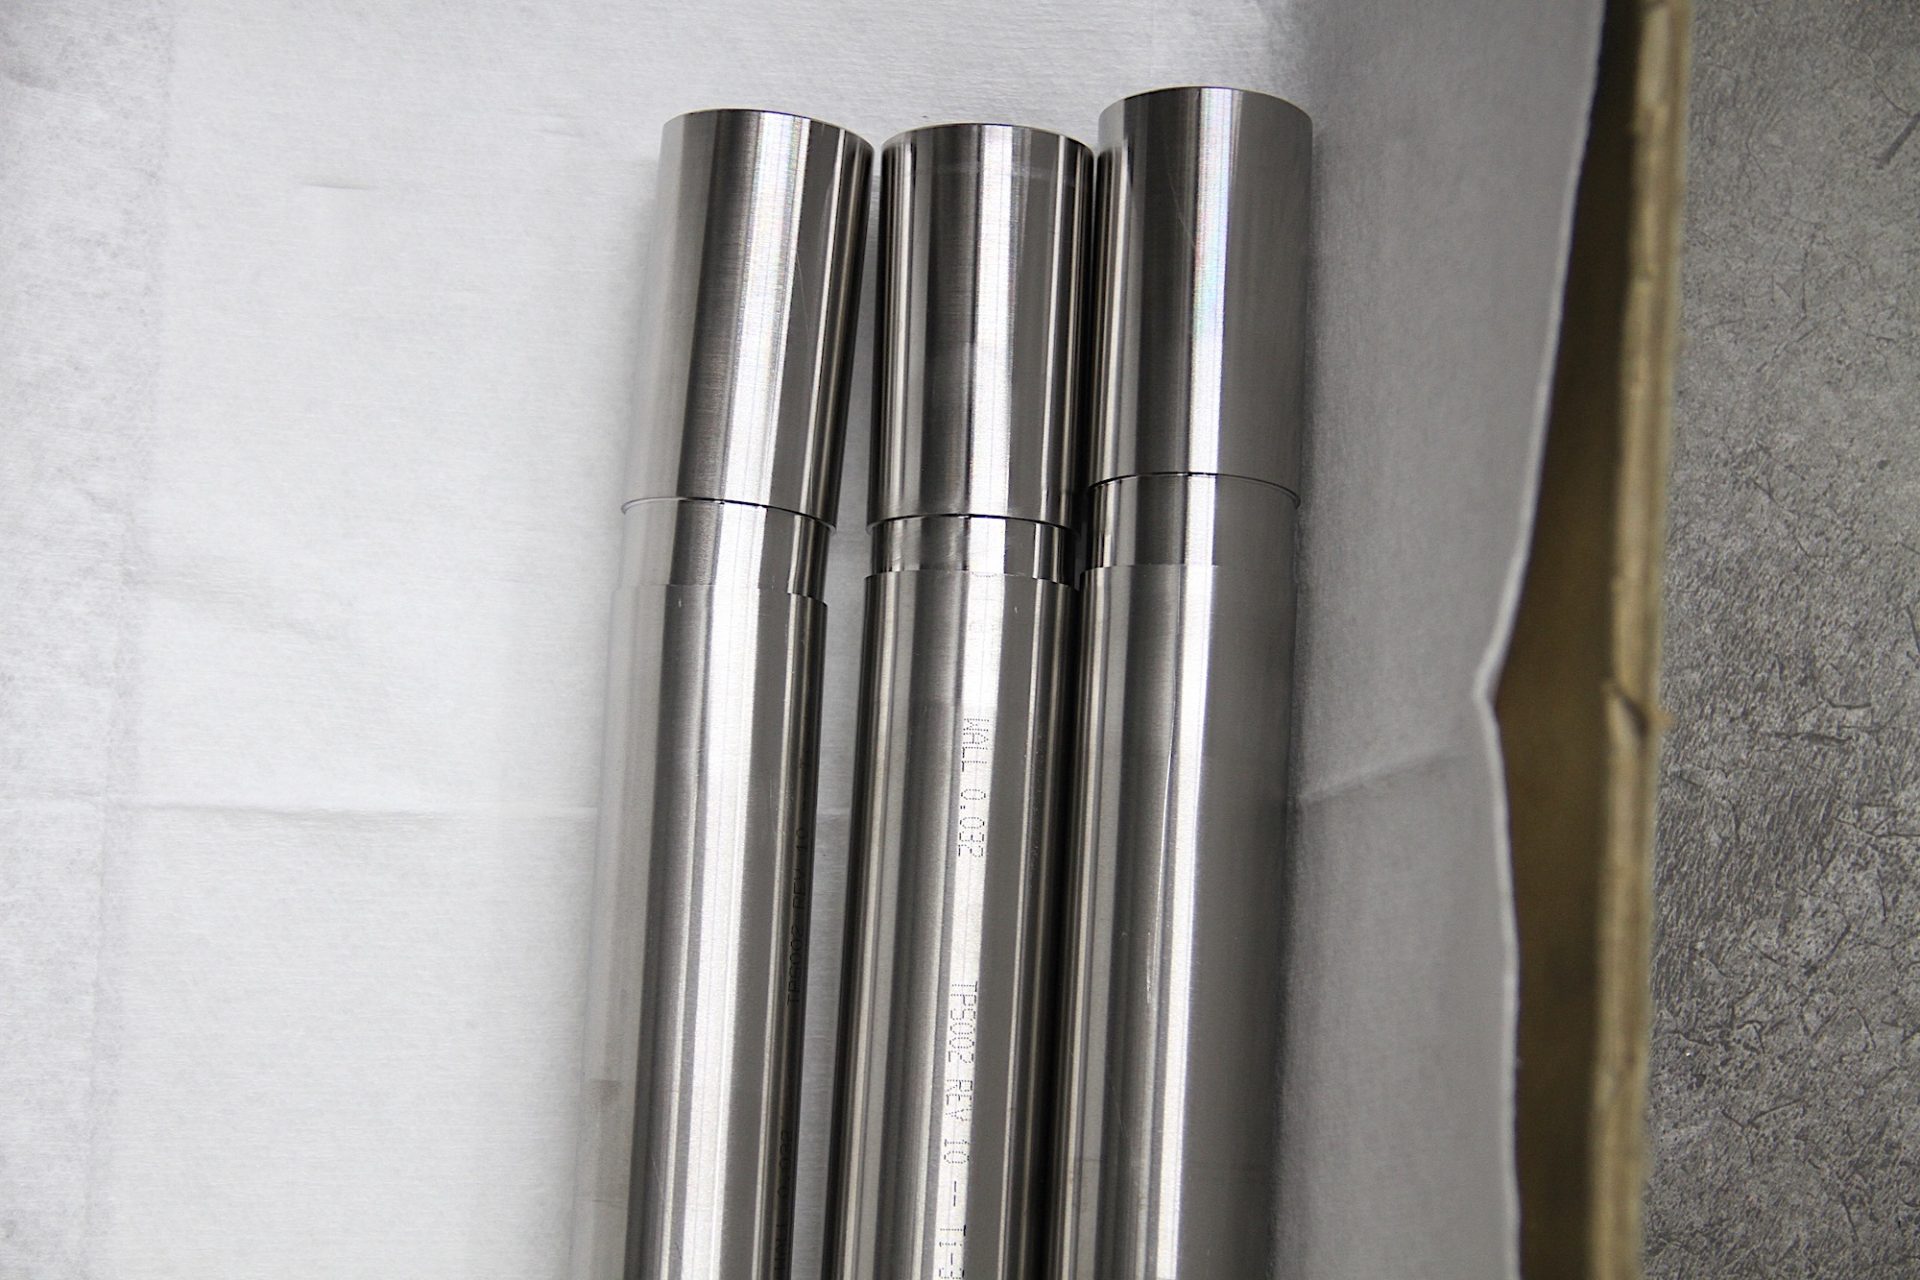
Run in batches so we can have seat tubes in the works at all times.
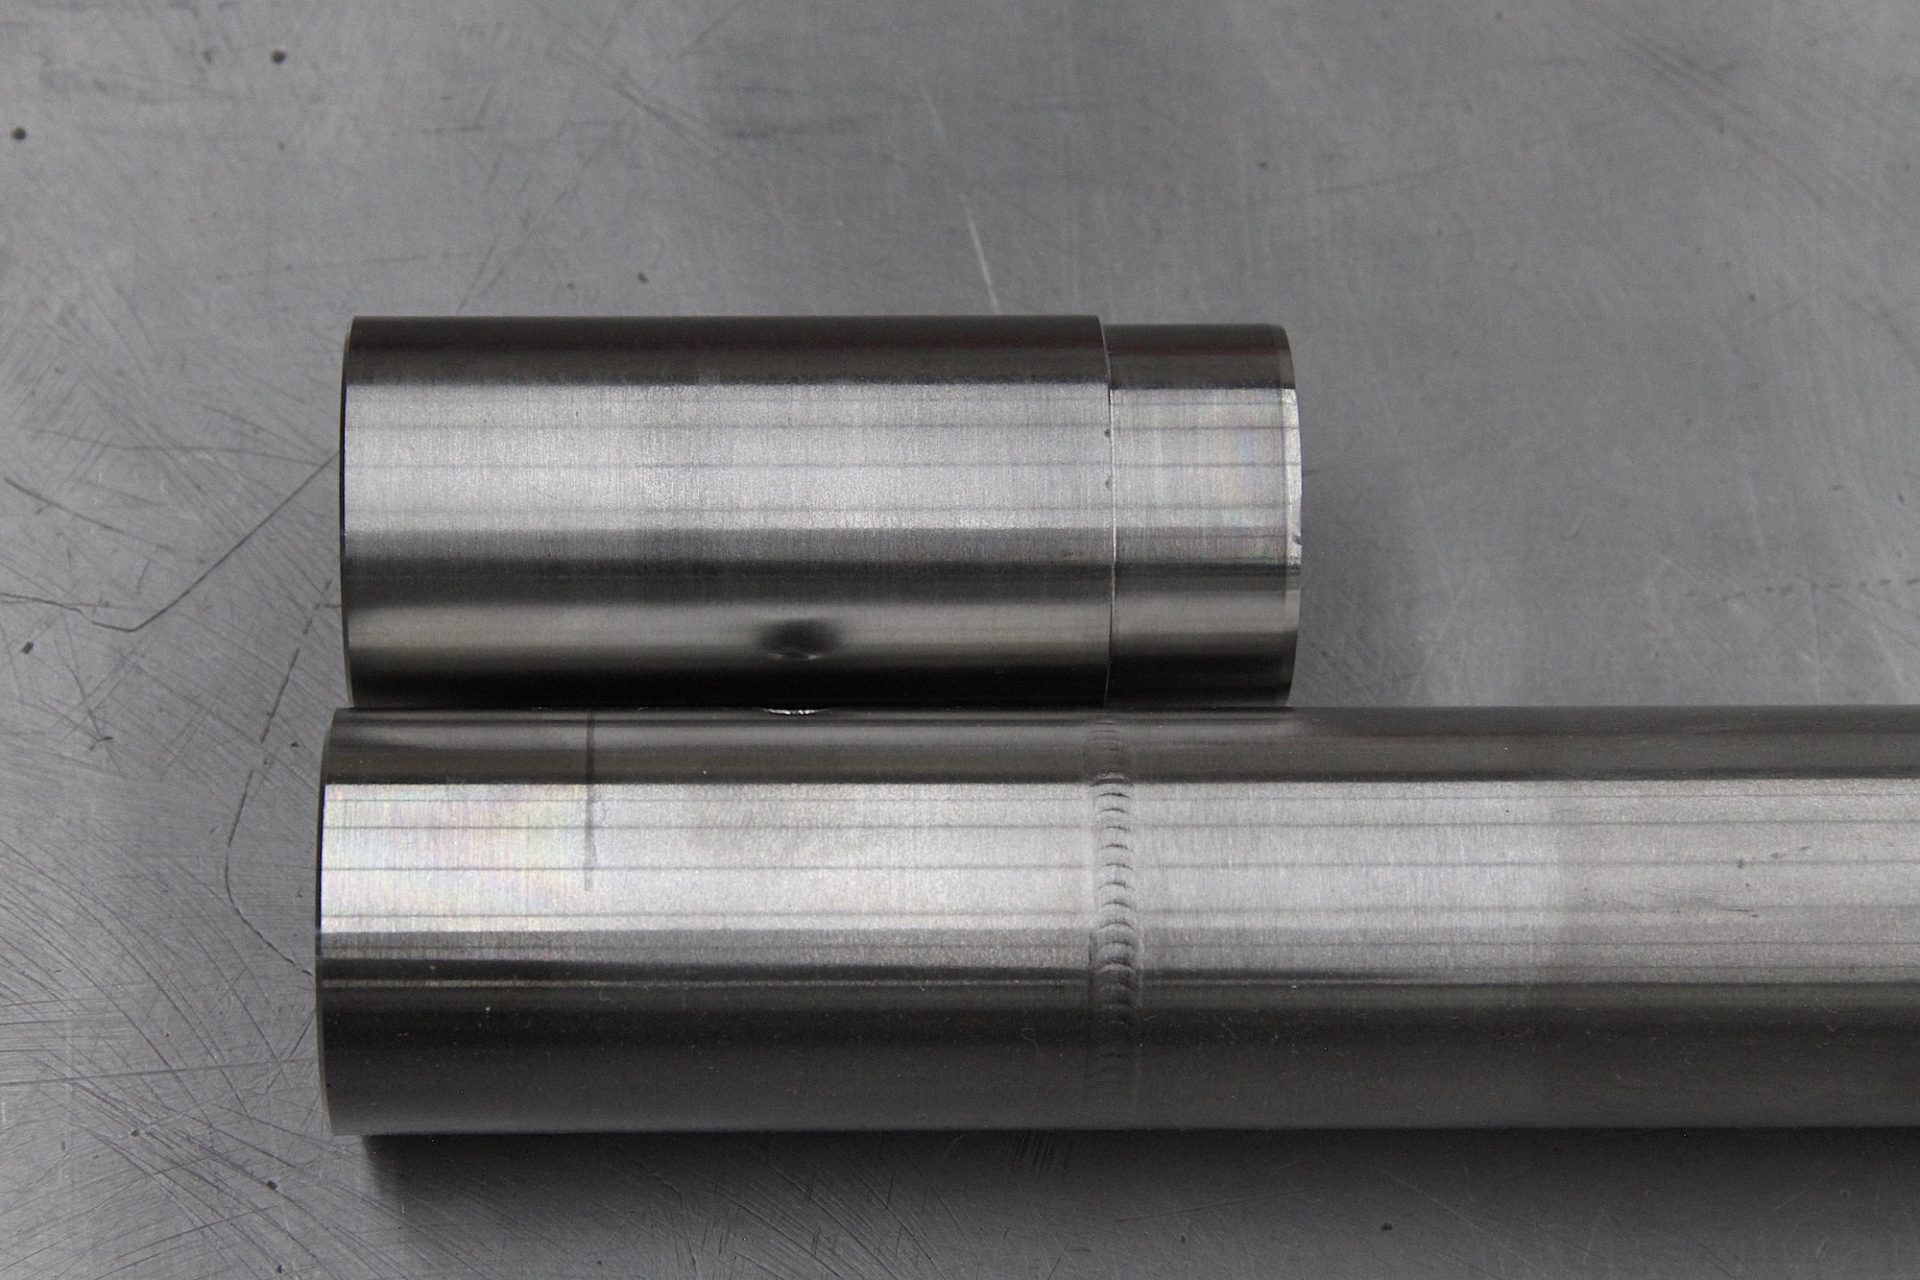
The “thicker” portion of the seat tube insert is on the right with the step-down on the left. The left end will be pressed into the seat tube.
The view from the top of the seat tube insert. Thicker, stronger and will deform less when welded.
A view from the bottom of the seat tube insert. You can see the step-down that will end up getting pressed into the seat tube.
Seat tube inserts and seat tubes are then run through the ultra sonic cleaner to remove any and all oils from the tubes. All clean and shiny.
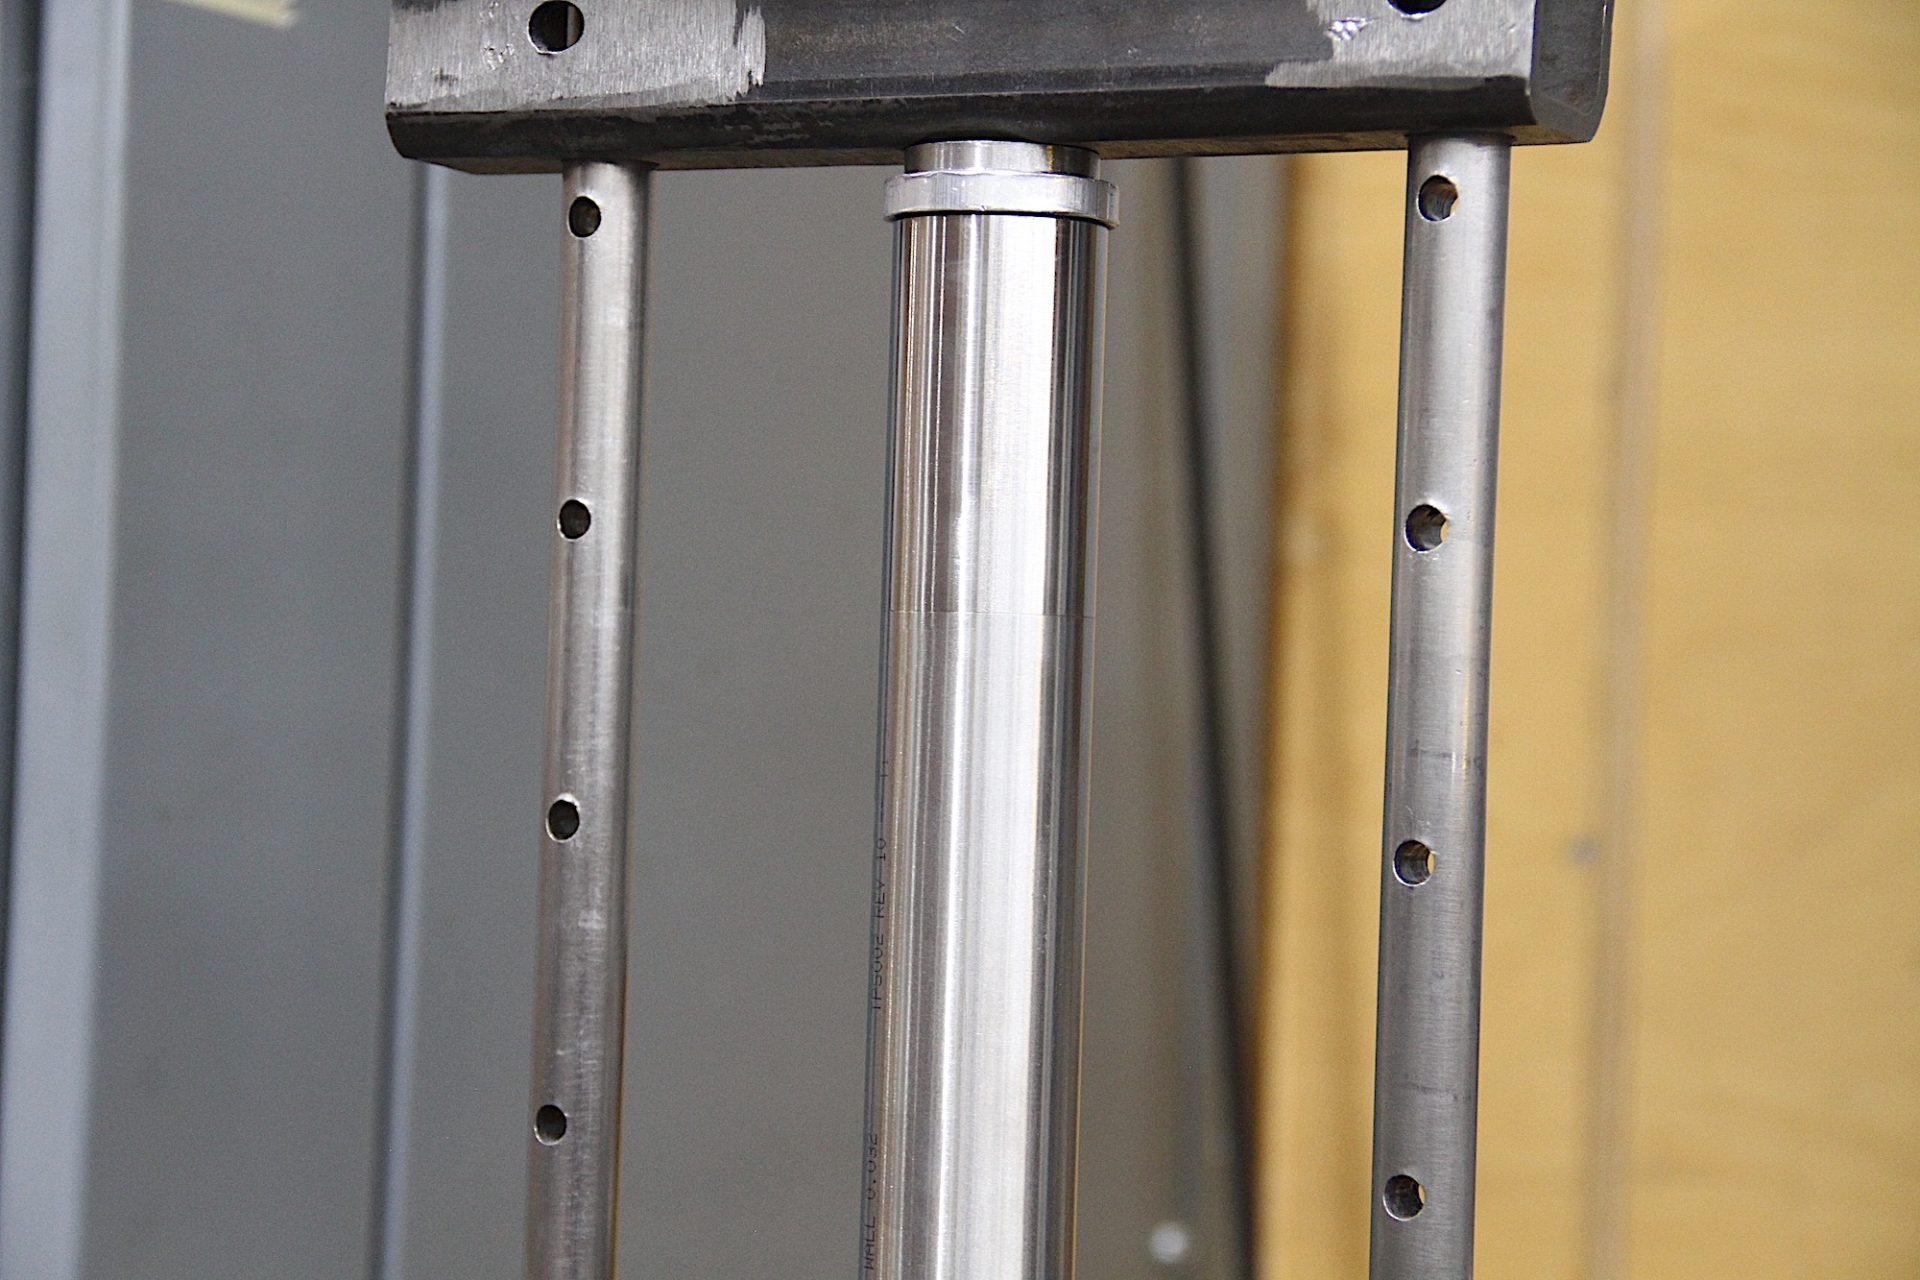
Next up; each seat tube insert is pressed into the seat tube using a press. Note: the lower portion has a machined aluminum interface to press against the lower end of the seat tube.
Ready to press.
The hydraulic jack is used to press each assembly together. Once pressed together the seam is hard to see.
Work smarter, not harder. A simple hydraulic jack is used. No, not all 4 tons are needed to press them together. Saves on our welder’s arms!
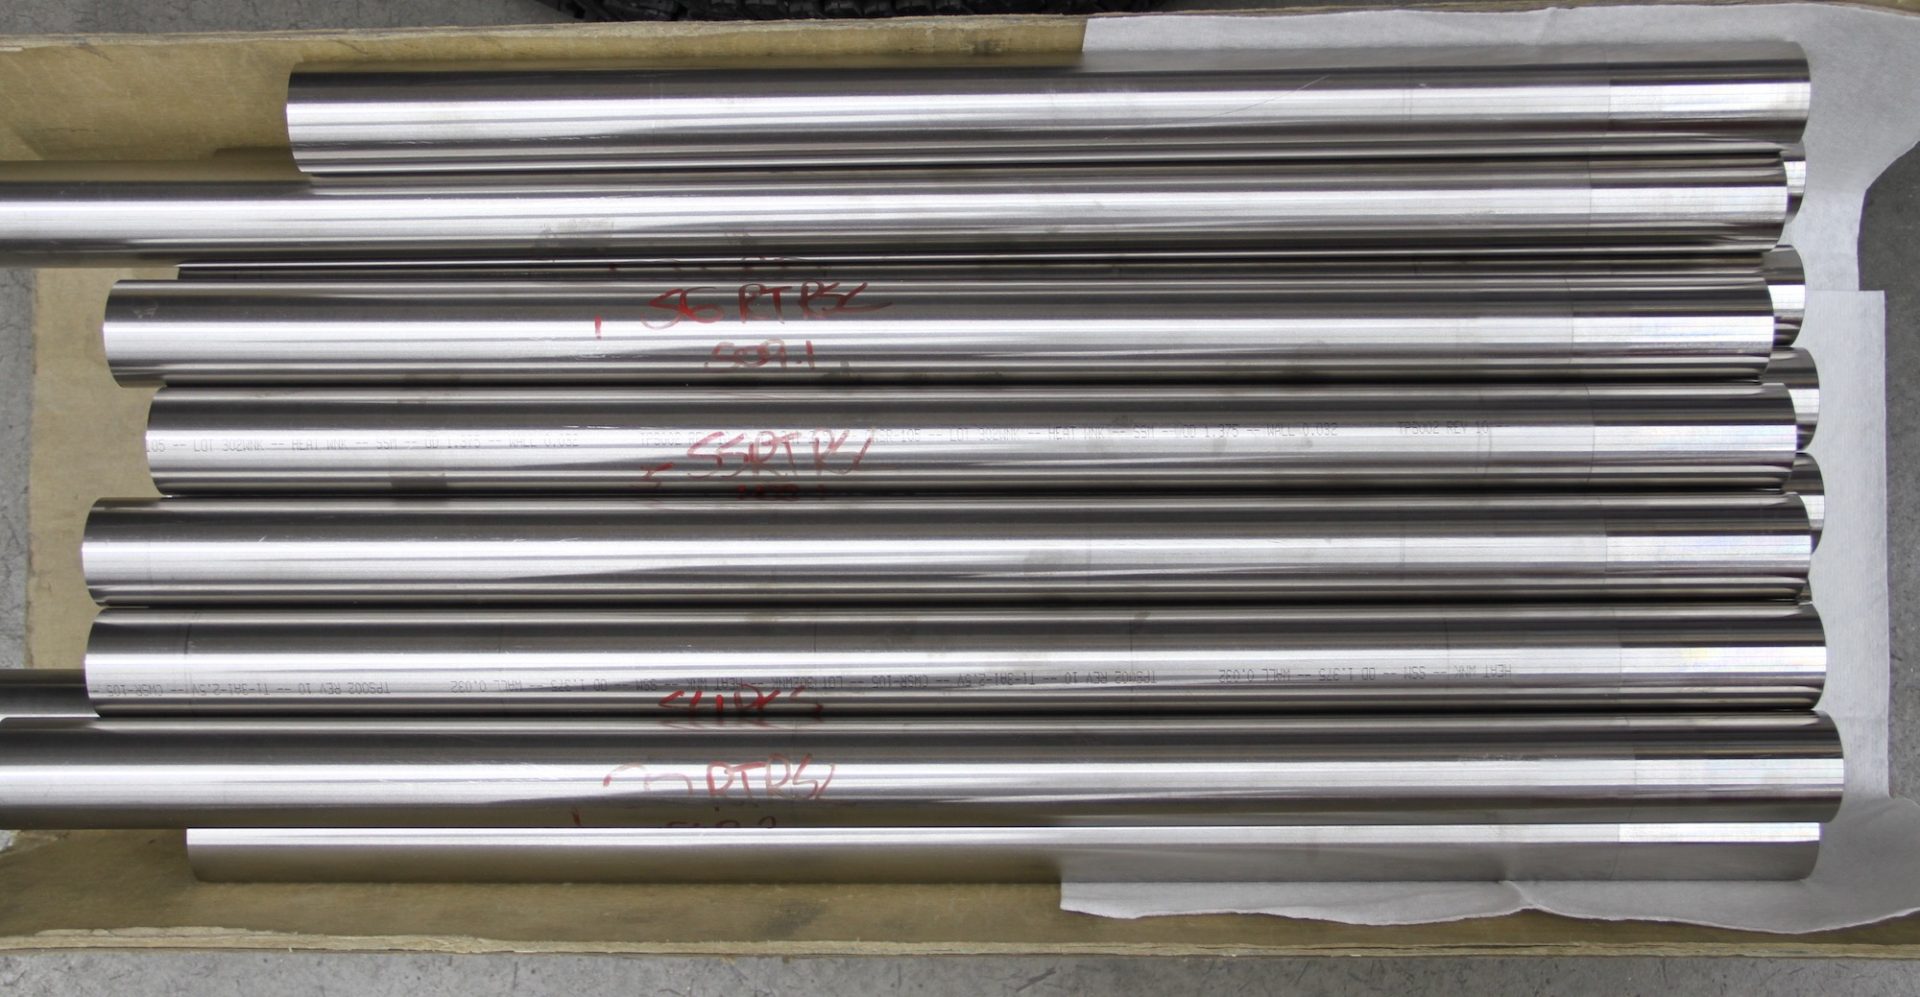
A batch of seat tubes all pressed and ready for the next step…….welding.
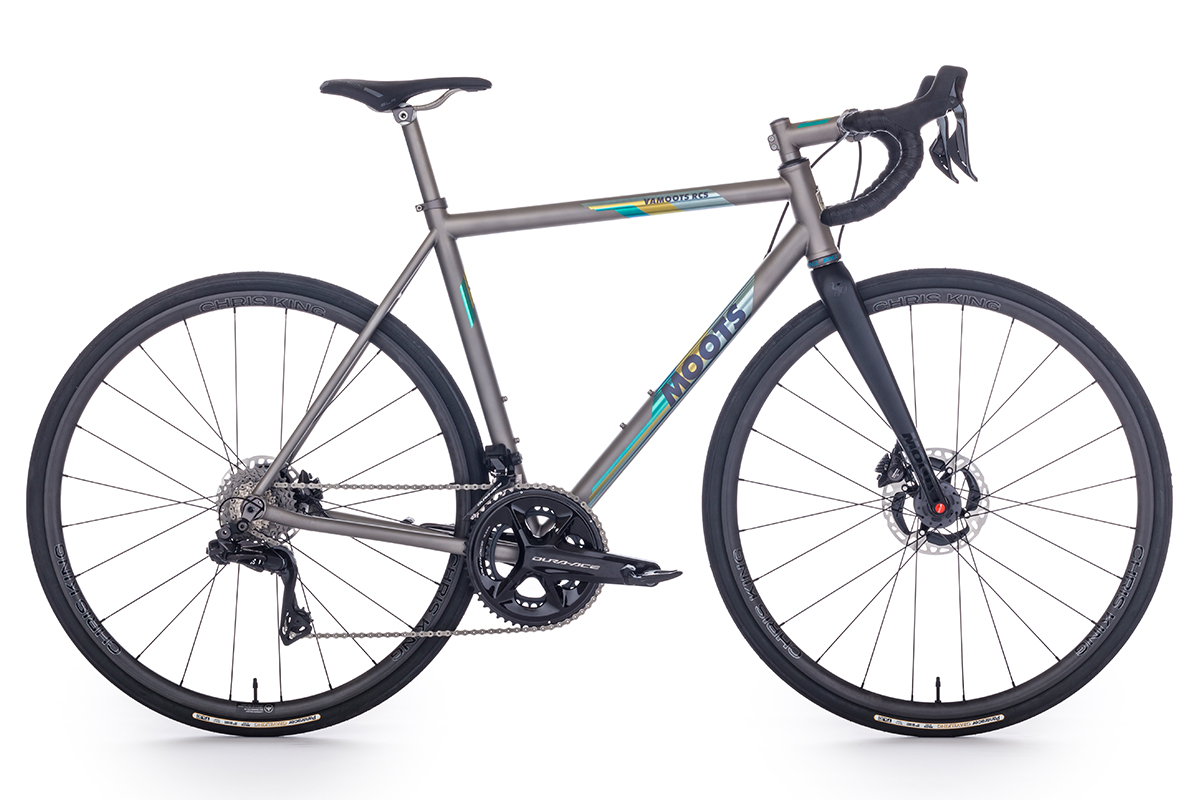
Done in batches for efficiency and consistency. A mix of Routt RSL and Vamoots RCS models head to welding.
Next stop is welding. We use the only “robotic” weld on your Moots bike at this step. We call it SPARKY 1. The seat tube weld can be one of the most frustrating welds on the bike as most of our welders can attest to. SPARKY keeps it straight and flawless.
SPARKY 1 holds the Seat Tube assembly and torch. A small motor rotates the piece as the torch is fixed. RPM and weld pulse can be adjusted with ease. The assembly is also purged with argon gas from the bottom (far right out of picture) of the seat tube so we are asured a clean weld.
SPARKY 1 handy work.
Seat tube assembly complete! On the inside of the seat tube, the insert overlaps with the seat tube by 15mm below the weld. Only 25 more to go!
Once the seat tube assembly is complete they head back over to miter and are paired up with the correct bike and the lower Seat Tube miter is cut accordingly.
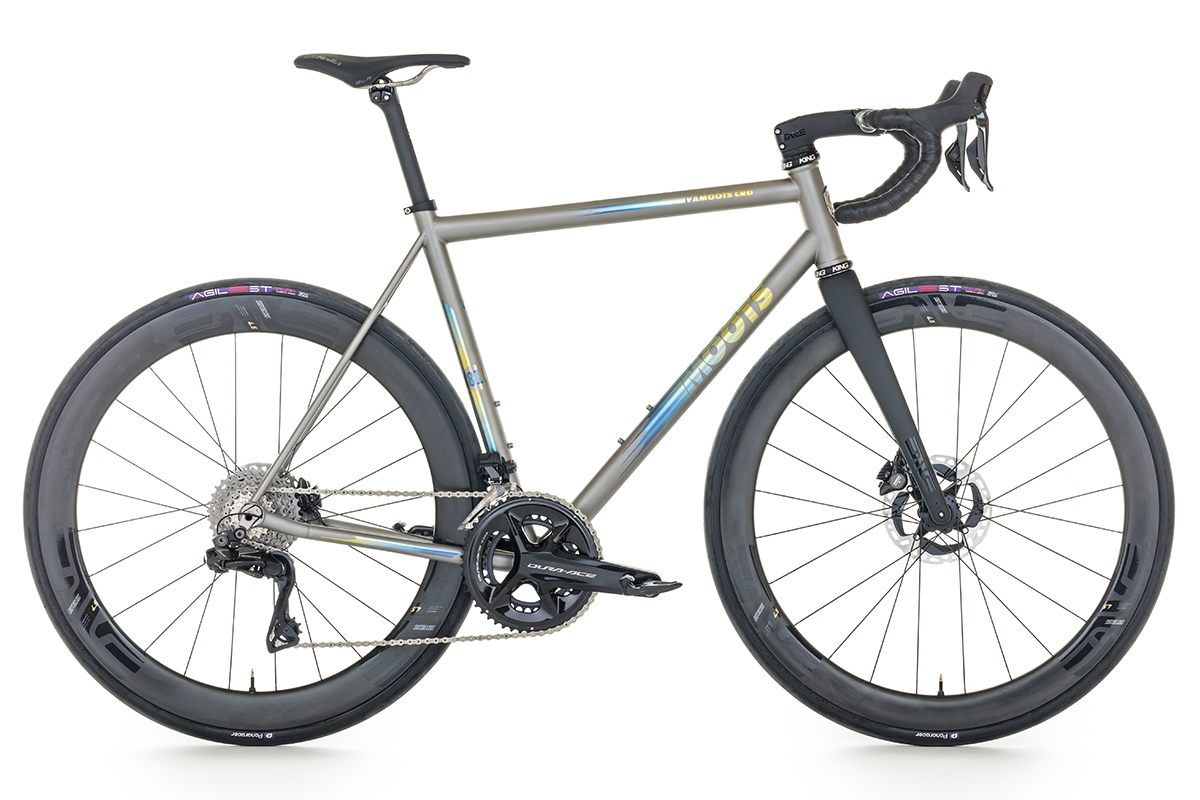
Final finished goods. Studio image of the Vamoots CRD Top Tube, Seat Tube and Seat Stay junction. Strength where you need it.
Now you know what that weld is for!
If you have a question for Mr. Moots, let’s hear them! You can email him at: mrmoots@gmail.com
